IKEA VOXTORP door instructions
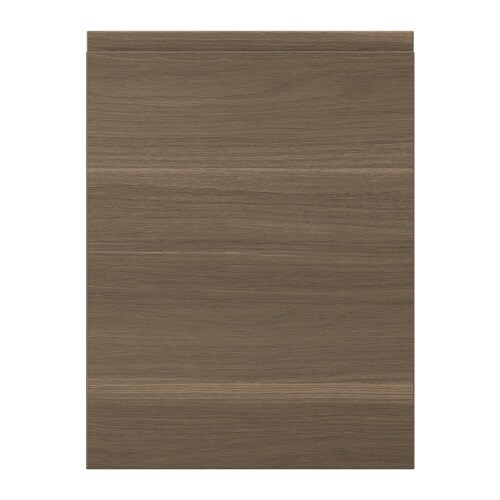
Full Product Name: IKEA VOXTORP Door, walnut effect, 15x20 "
Article Number: 603.281.13
Number of user manuals: 1
Manuals and Parts List
There is one assembly instruction manual to fully build IKEA VOXTORP door.
IKEA VOXTORP Product Details

VOXTORP Door, walnut effect, 15x20 "
Article number: 603.281.13
VOXTORP is a smooth door with integrated handles. It brings clean lines and an open, modern look to your kitchen.
The depth of the handle makes it easy to open and close the door.
25-year Limited Warranty. Read about the terms in the Limited Warranty brochure.
You can choose to mount the door on the right or left side.
VOXTORP fronts with dark walnut effect surface create a modern and sophisticated expression. Integrated handles blend perfectly into the design enhancing the minimalist look.
Measurements:
Width: 14 7/8 " (37.7 cm)System, height: 20 " (50.8 cm)
System, width: 15 " (38.1 cm)
Height: 19 7/8 " (50.5 cm)
Thickness: 7/8 " (2.1 cm)
Need help?
Have a question about IKEA VOXTORP or Need to request a missing manual?
Questions and Answers
Number of questions: 1
Lauren Castillo
Posted on Jul 24, 2023I'm trying to install my VOXTORP door and I'm having trouble with the mounting process. Can you provide more detailed instructions on how to properly mount the door? Specifically, what are the recommended screws and drill bits needed for this installation?
Kenzo @ EasyRebuild
Answered on Jul 26, 2023To properly mount the VOXTORP door, you'll need the following hardware:
- 3.5 x 16 mm wood screws (approximately 8-10 screws)
- 3 mm drill bit
First, ensure the cabinet frame is level and secure. Then, align the door and mark the screw hole locations on the cabinet frame.
Drill 3 mm pilot holes at the marked locations. This will help prevent the wood from splitting when driving in the screws.
Next, attach the door to the cabinet frame using the 3.5 x 16 mm wood screws. Be sure to tighten the screws securely, but do not overtighten.
Finally, check that the door is properly aligned and adjust as needed. Make any final tightening of the screws.
Let me know if you have any other questions


