IKEA SMÅSTAD wardrobe with pull-out unit instructions
Full Product Name: IKEA SMÅSTAD Wardrobe with pull-out unit, white pale pink/with storage bench, 59x22 1/2x77 1/8 "
Article Number: 194.838.09
Number of user manuals: 6
Manuals and Parts List
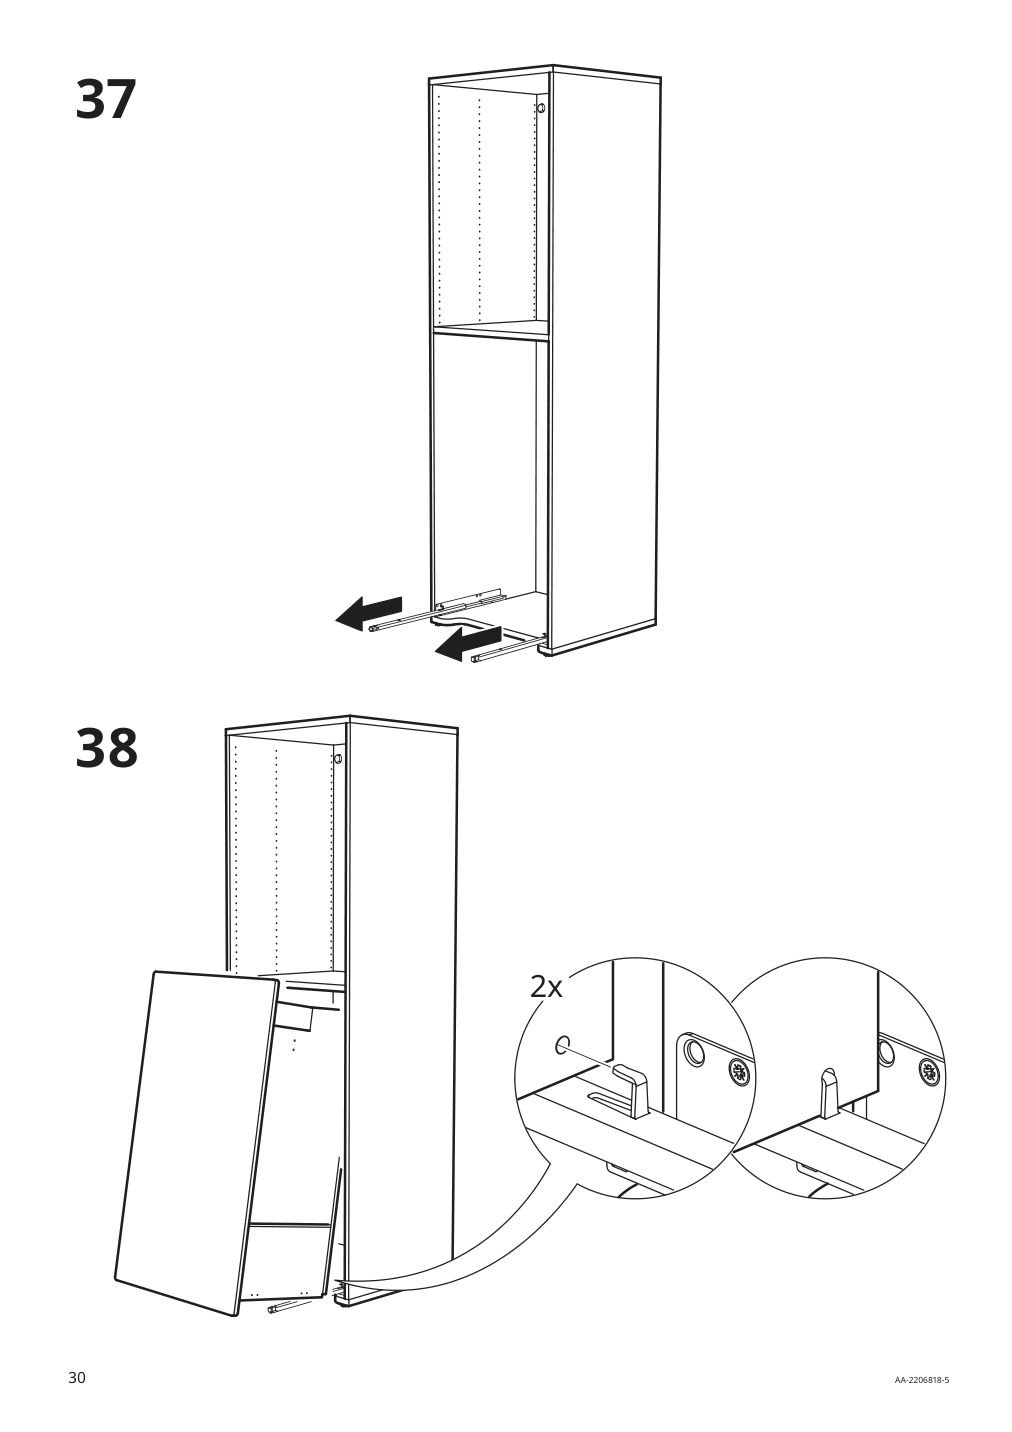
There are 6 assembly instruction manuals to fully build IKEA SMÅSTAD wardrobe with pull-out unit. Scroll down to view all.
1. Instructions for IKEA Hjaelpa pull out rail for baskets white


3. Instructions for IKEA Hjaelpa soft closing hinge


4. Instructions for IKEA Smastad bench white


5. Instructions for IKEA Smastad box pale pink


6. Instructions for IKEA Smastad pull out storage unit white






IKEA SMÅSTAD Product Details
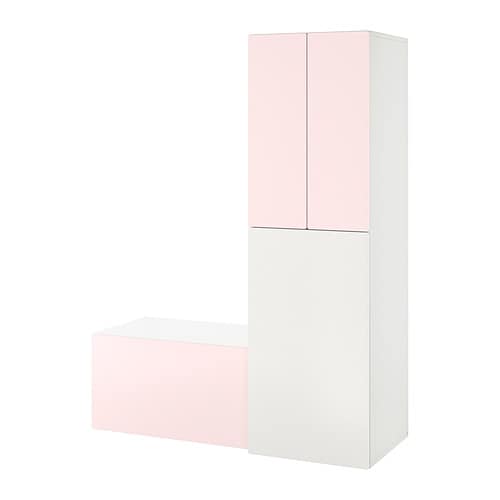
SMÅSTAD Wardrobe with pull-out unit, white pale pink/with storage bench, 59x22 1/2x77 1/8 "
Article number: 194.838.09
So that both you and your child avoid sharp edges, all corners of SMÅSTAD doors are softly rounded.
At the bottom of the pull-out storage there is a box for everything that needs to be quickly cleared away.
In the box there is plenty of space for large things like soft toys and balls –perfect for tidying up in a flash.
Stands steady on uneven floors because the feet are adjustable.
To save on our natural resources and make use of as much of the tree as possible, we have used sawmill leftovers and scrap wood in the particle boards for SMÅSTAD.
We based this pull-out wardrobe on a child's perspective. Here they can see everything and reach their clothes and items from two sides.
Measurements:
Width: 59 " (150 cm)Depth: 22 ½ " (57 cm)
Height: 77 ¼ " (196 cm)
Need help?
Have a question about IKEA SMÅSTAD or Need to request a missing manual?
Questions and Answers
Number of questions: 1
Jessica Mills
Posted on Feb 13, 2023I'm having trouble assembling the Småstad wardrobe, specifically with the top shelf. The instructions are unclear and I'm not sure how to attach it to the frame. Can you please provide more detailed guidance on this step?
Alice @ EasyRebuild
Answered on Feb 15, 2023To attach the top shelf on the SMÅSTAD wardrobe, follow these steps:
1. Locate the top shelf panel and the two side frame panels.
2. Position the top shelf panel on top of the side frame panels, ensuring it aligns properly.
3. Use the screws provided in the hardware pack to secure the top shelf to the side frame panels. Make sure the screws are tightened completely.
4. Double-check that the top shelf is firmly attached and level across the frame.
5. If you're still having trouble, refer back to the assembly instructions for any clarification on the specific hardware and steps required.
Let me know if you have any other questions


