IKEA SEKTION high cab w 2drs/2 fronts/4 drawers instructions
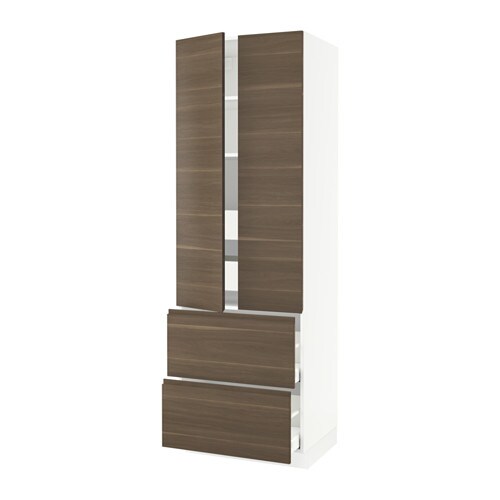
Full Product Name: IKEA SEKTION High cab w 2drs/2 fronts/4 drawers, white/Voxtorp walnut effect, 30x24x90 "
Article Number: 193.954.12
Number of user manuals: 9
Table of Contents
-
❯ Manuals
and Parts List
- ► IKEA Maximera drawer high white
- ► IKEA Maximera drawer high white
- ► IKEA Maximera drawer medium white
- ► IKEA Maximera drawer medium white
- ► IKEA Sektion high cabinet frame white
- ► IKEA Sektion high cabinet frame white
- ► IKEA Utrusta drawer front medium
- ► IKEA Utrusta hinge w b in damper for kitchen
- ► IKEA Voxtorp door walnut effect
- ❯ Product Detail Specification
- ❯ Related Products
- ❯ Question and Answer
Manuals and Parts List
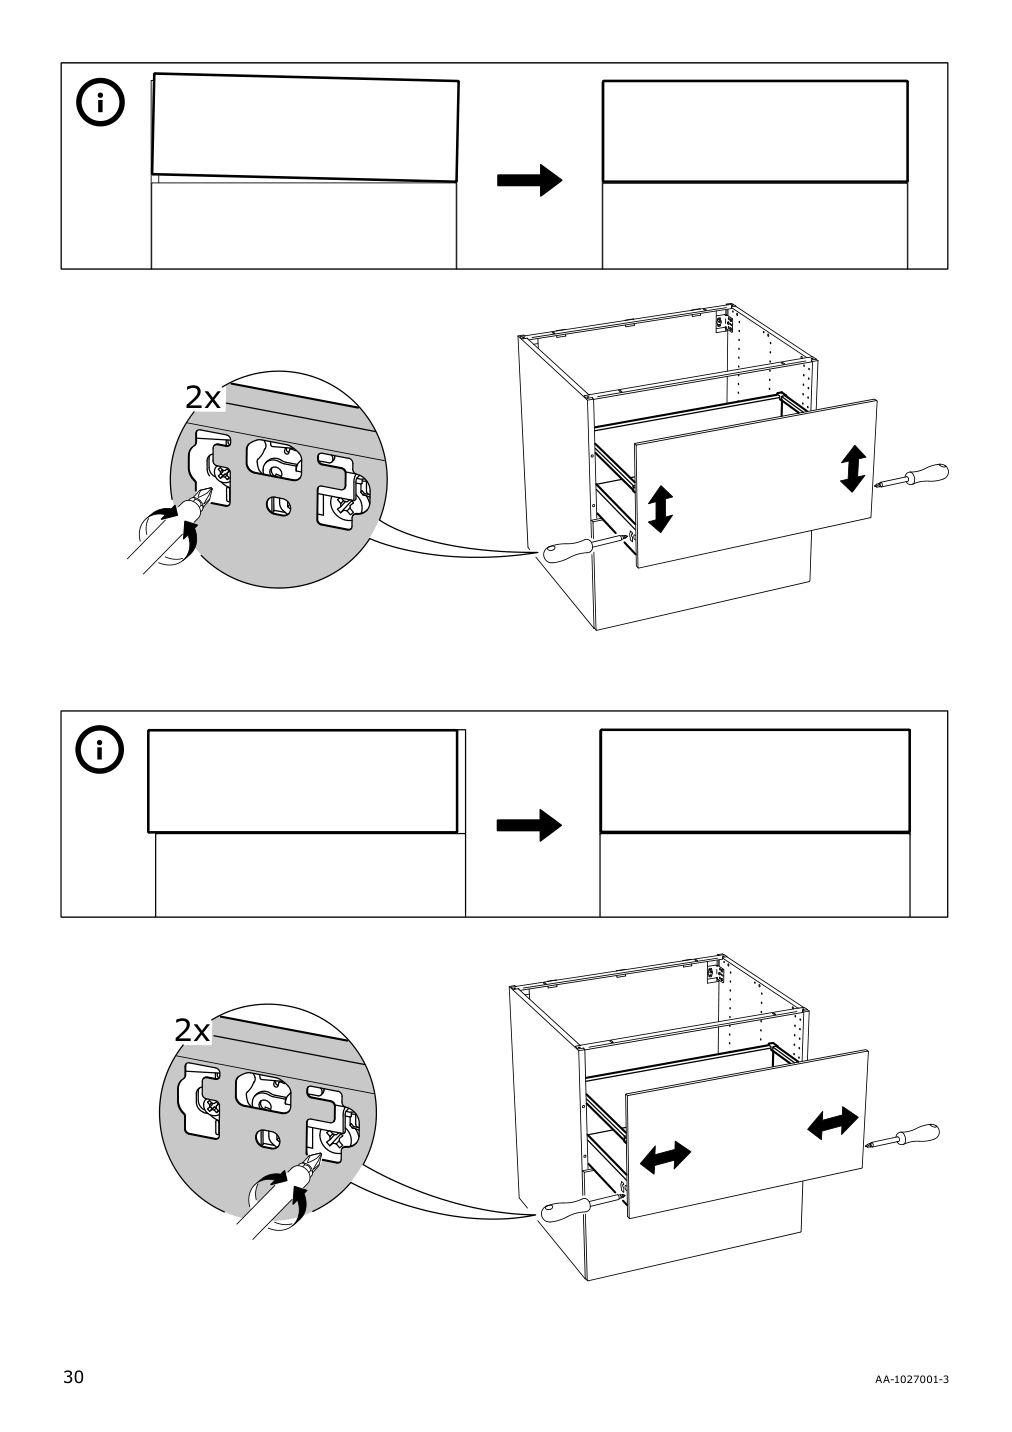
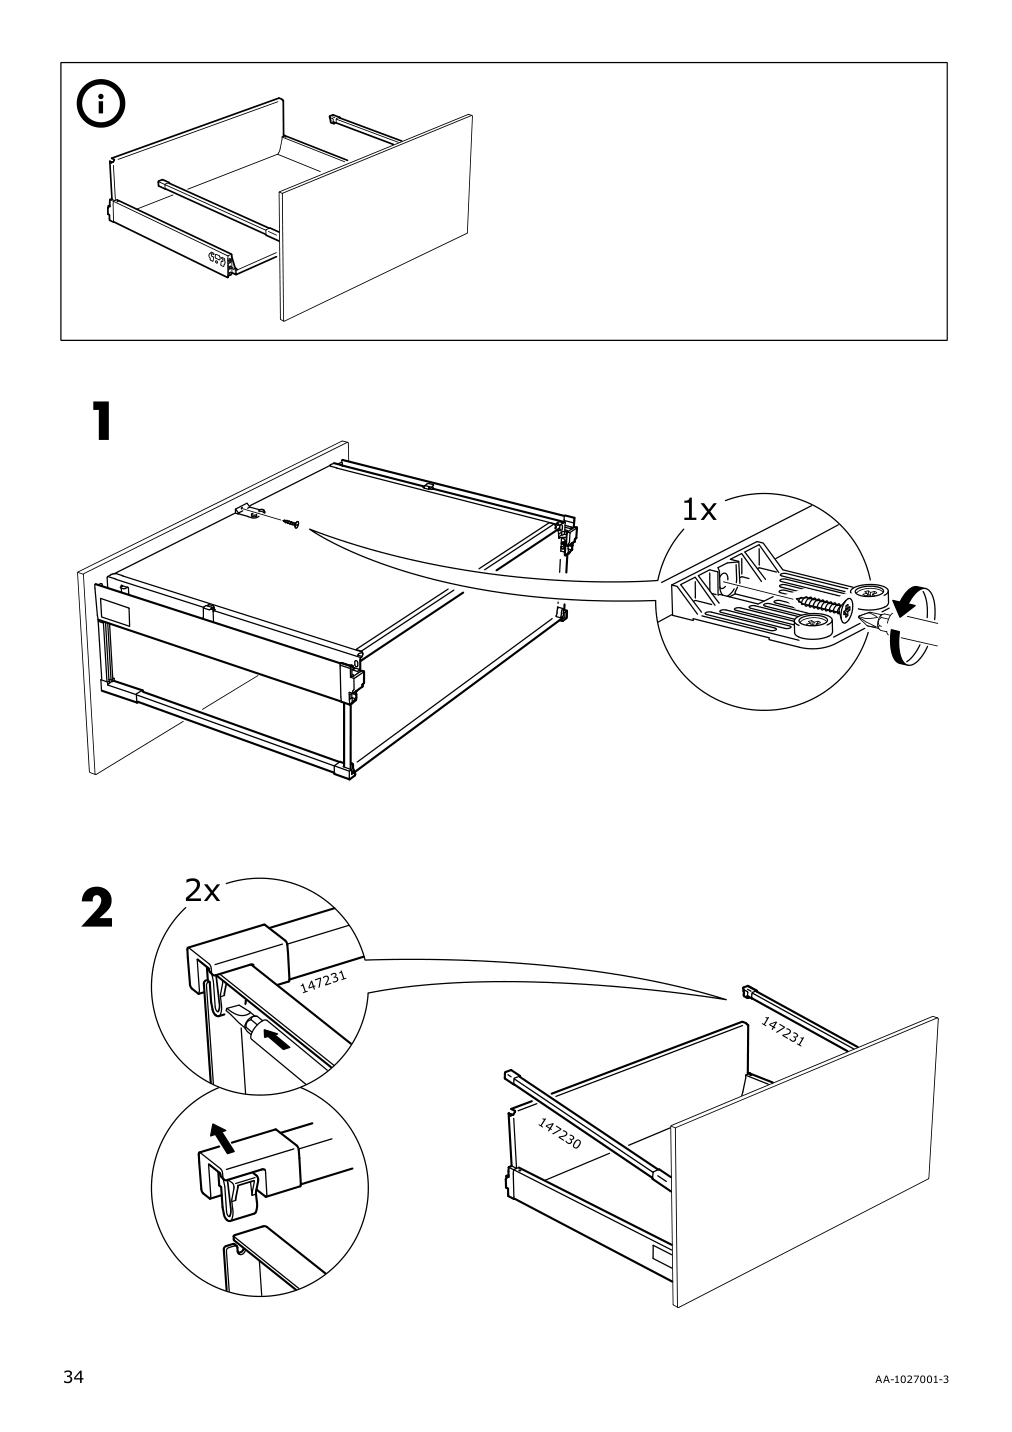
There are 9 assembly instruction manuals to fully build IKEA SEKTION high cab w 2drs/2 fronts/4 drawers. Scroll down to view all.
1. Instructions for IKEA Maximera drawer high white
IKEA parts list for Maximera drawer high white:
No hardware or fittings found for Maximera drawer high white.


2. Instructions for IKEA Maximera drawer high white


3. Instructions for IKEA Maximera drawer medium white


4. Instructions for IKEA Maximera drawer medium white
IKEA parts list for Maximera drawer medium white:
No hardware or fittings found for Maximera drawer medium white.


5. Instructions for IKEA Sektion high cabinet frame white


6. Instructions for IKEA Sektion high cabinet frame white


7. Instructions for IKEA Utrusta drawer front medium
IKEA parts list for Utrusta drawer front medium:


8. Instructions for IKEA Utrusta hinge w b in damper for kitchen


9. Instructions for IKEA Voxtorp door walnut effect
IKEA parts list for Voxtorp door walnut effect:
No hardware or fittings found for Voxtorp door walnut effect.


IKEA SEKTION Product Details

SEKTION High cab w 2drs/2 fronts/4 drawers, white/Voxtorp walnut effect, 30x24x90 "
Article number: 193.954.12
MAXIMERA drawer is a smooth-running, full-extension drawer with built-in dampers so that it closes slowly, softly, and quietly.
The door damper prevents your cabinet door from slamming by catching the moving door so that it closes slowly, gently and silently.
The door can be mounted to open to the left or right.
Sturdy frame construction, ¾" thick.
You can customize spacing as needed, because the shelves are adjustable.
Snap-on hinges can be mounted onto the door without screws, and you can easily remove the door for cleaning.
25-year Limited Warranty. Read about the terms in the Limited Warranty brochure.
SEKTION kitchen system gives you endless possibilities to design your dream kitchen. Paired with VOXTORP fronts in dark walnut effect with integrated handles, you get a sophisticated, minimalist expression.
Measurements:
Width: 30 " (76.2 cm)System, depth: 24 " (61 cm)
Depth: 24 7/8 " (63.2 cm)
Frame, height: 90 " (228.6 cm)
Need help?
Have a question about IKEA SEKTION or Need to request a missing manual?
Questions and Answers
Number of questions: 1
Tran Jose
Posted on Nov 21, 2023I've been trying to assemble my SEKTION kitchen cabinet, but I'm having trouble with the door damper not functioning properly. Can you provide instructions on how to adjust or fix it?
Kenzo @ EasyRebuild
Answered on Nov 23, 2023To adjust or fix the door damper on your SEKTION kitchen cabinet:
1. First, make sure the door is properly installed and aligned. The door damper mechanism needs to be able to engage with the cabinet frame for it to function correctly.
2. If the damper is not closing the door smoothly, try adjusting the tension of the damper. There is usually a small screw or adjustment mechanism on the damper that allows you to increase or decrease the closing force.
3. Ensure the damper is mounted securely to the cabinet frame. Check that all screws are tightened and the damper is not loose.
4. Inspect the damper mechanism for any debris or obstructions that could be preventing it from working properly. Gently clean the area if needed.
5. If the damper is still not functioning after these adjustments, it may need to be replaced. Contact IKEA customer service for a replacement part and instructions on how to properly install it.
Let me know if you have any other questions


