IKEA HULTARP rail instructions
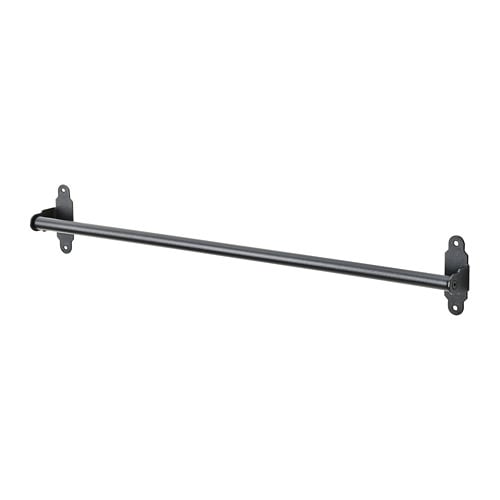
Full Product Name: IKEA HULTARP Rail, black, 23 ½ "
Article Number: 004.487.69
Number of user manuals: 1
Manuals and Parts List
There is one assembly instruction manual to fully build IKEA HULTARP rail.
IKEA HULTARP Product Details

HULTARP Rail, black, 23 ½ "
Article number: 004.487.69
You can free up space on your countertop by hanging accessories on the rail.
Smart solutions to free up your workspace and put things close at hand - that’s what the HULTARP series is all about, topped with a traditional expression that adds a warm feeling to your kitchen.
Measurements:
Length: 23 ½ " (60 cm)Diameter: ¾ " (1.6 cm)
Need help?
Have a question about IKEA HULTARP or Need to request a missing manual?
Questions and Answers
Number of questions: 2
Silva Chris
Posted on Mar 30, 2023I'm having trouble installing the Hultarp rail, as the screws provided don't seem to fit the wall anchors. What are the correct screw lengths and types needed for proper installation?
Alice @ EasyRebuild
Answered on Apr 01, 2023For the HULTARP rail, 23 1/2", you will need screws that are approximately 1-1/4" to 1-1/2" in length. The screws provided may not be the correct size for the wall anchors you are using. You'll want to use screws that are long enough to securely fasten the rail to the wall, but not so long that they protrude through the other side. Standard wood screws or drywall screws in the 1-1/4" to 1-1/2" range should work well. Make sure the screw diameter also matches the holes in the rail. With the right screws, you'll be able to install the HULTARP rail safely and securely
Megan White
Posted on Jan 08, 2023I'm trying to install this rail in my kitchen, but I'm having trouble securing it to the wall. Can you provide me with more detailed instructions on how to properly mount and anchor the HULTARP Rail?
M. White
Kenzo @ EasyRebuild
Answered on Jan 10, 2023To properly mount and anchor the HULTARP Rail, you'll need to follow these steps:
1. Locate the wall studs where you want to install the rail. Use a stud finder to locate the studs and mark their positions.
2. Position the rail on the wall at the desired height and use a level to ensure it's straight. Mark the wall where the mounting holes will be.
3. Drill pilot holes into the wall at the marked locations, making sure to hit the wall studs.
4. Securely fasten the rail to the wall using the appropriate screws for your wall material, making sure to screw into the wall studs.
5. Once the rail is mounted, you can begin hanging your accessories on the rail.
Let me know if you have any other questions


