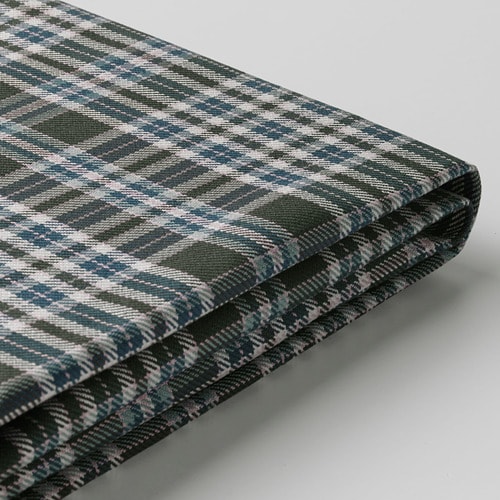
IKEA STOCKSUND cover for armchair instructions
Full Product Name: IKEA STOCKSUND Cover for armchair, Segersta multicolor
Article Number: 204.137.97
Number of user manuals: 1
Manuals and Parts List
There is one assembly instruction manual to fully build IKEA STOCKSUND cover for armchair.
1. Instructions for IKEA Stocksund cover for armchair segersta multicolor
IKEA parts list for Stocksund cover for armchair segersta multicolor:
No hardware or fittings found for Stocksund cover for armchair segersta multicolor.


IKEA STOCKSUND Product Details

STOCKSUND Cover for armchair, Segersta multicolor
Article number: 204.137.97
SEGERSTA cover is made of cotton and polyester and is a very durable fabric, with a woven checkered pattern and a soft, smooth surface.
This durable cover for STOCKSUND armchair is made of recycled material and can also be removed and machine washed. So you can enjoy your armchair without worrying about wear and tear or spills!
Need help?
Have a question about IKEA STOCKSUND or Need to request a missing manual?
Questions and Answers
Number of questions: 1
Christina Grimes
Posted on Dec 12, 2023I just got my Segersta multicolor cover for my Stocksund armchair, but I'm having trouble putting it on correctly. The instructions are not clear and the corners don't seem to fit together as they should. Can you provide some additional guidance on how to put the cover on without wrinkles or creases?
C. Grimes
Kenzo @ EasyRebuild
Answered on Dec 14, 2023To put the Segersta multicolor cover on your Stocksund armchair without wrinkles or creases, here are the steps:
1. Unzip the cover fully and lay it out flat, with the zipper facing up.
2. Lift the armchair and gently place it into the cover, aligning the corners of the chair with the corners of the cover.
3. Smooth out any wrinkles or creases as you work the cover down over the chair.
4. Once the cover is fully in place, zip it up slowly and carefully, ensuring there are no folds or bunching.
5. Give the cover a final once-over, smoothing out any remaining creases or bumps.
The key is to take your time and work slowly, using your hands to gently manipulate the cover into place. With a little patience, you should be able to achieve a wrinkle-free, tailored fit


