IKEA MAXIMERA drawer, high instructions
Full Product Name: IKEA MAXIMERA Drawer, high, white, 24x24 "
Article Number: 102.656.79
Number of user manuals: 2
Manuals and Parts List
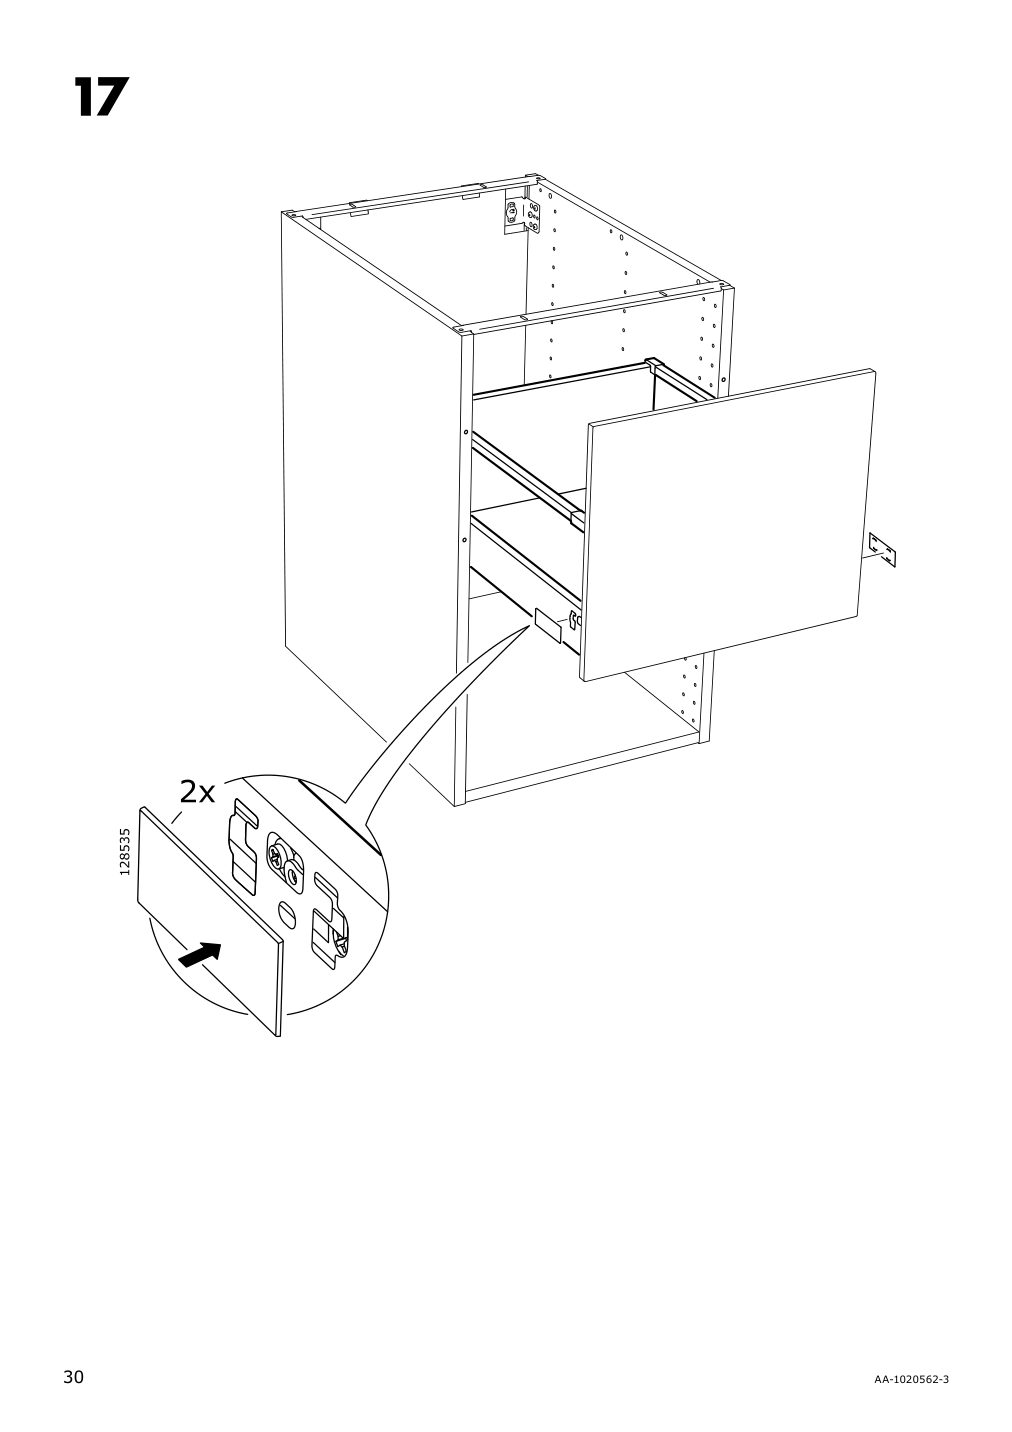
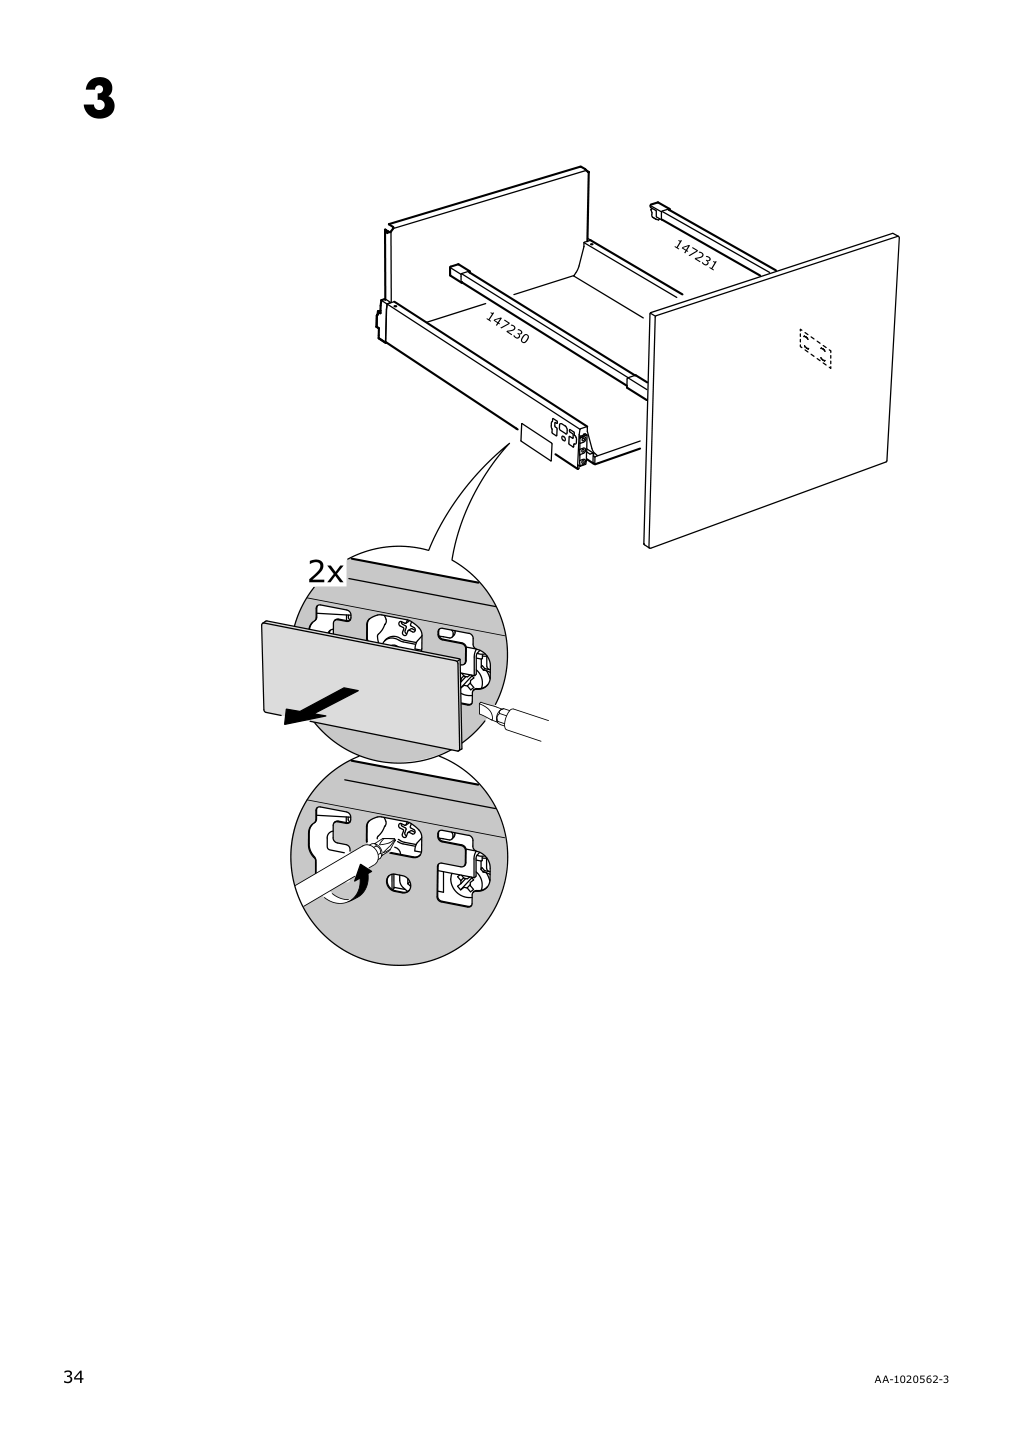
There are 2 assembly instruction manuals to fully build IKEA MAXIMERA drawer, high. Scroll down to view all.
1. Instructions for IKEA Maximera drawer high white
IKEA parts list for Maximera drawer high white:
No hardware or fittings found for Maximera drawer high white.


IKEA MAXIMERA Product Details

MAXIMERA Drawer, high, white, 24x24 "
Article number: 102.656.79
You can view and access what's inside as the drawer can be pulled out all the way.
The smooth-running drawer is equipped with a drawer stop and is self-closing the last few centimeters.
The drawer closes slowly, quietly and softly thanks to the built-in dampers.
You can create more storage with inner drawers, either inside a higher drawer or behind the door.
To stay organized and for efficient use of space, MAXIMERA drawers may be completed with VARIERA organizers like the cutlery tray, utensil tray or plate holder.
25-year Limited Warranty. Read about the terms in the Limited Warranty brochure.
Yes, it’s possible to fall in love with a drawer! This one pulls out all the way for a good overview and can be kept organized with the interiors of your choice. And the best part? It closes quietly!
Measurements:
Width: 22 1/2 " (57.2 cm)Frame, width: 24 " (61.0 cm)
Depth: 21 3/8 " (54.2 cm)
Height: 8 3/8 " (21.2 cm)
Frame, depth: 24 " (61.0 cm)
Max. load: 55 lb 2 oz (25 kg)
Need help?
Have a question about IKEA MAXIMERA or Need to request a missing manual?
Questions and Answers
Number of questions: 1
Connie
Posted on Aug 22, 2022How do I remove and replace the drawer slides? Is there a specific procedure or video available for this process?
Kenzo @ EasyRebuild
Answered on Aug 24, 2022To remove and replace the drawer slides on the MAXIMERA Drawer, high, white, 24x24":
1. Fully extend the drawer out.
2. Locate the small levers or release tabs on the drawer slides, usually on the sides or front.
3. Gently press or squeeze these tabs to release the drawer from the slides.
4. Carefully pull the drawer straight out to detach it from the slides.
5. With the drawer removed, you can now access the slides attached to the cabinet.
6. There are typically screws or clips holding the slides in place. Carefully remove these to take out the old slides.
7. Install the new slides by aligning them and securing them with the screws or clips.
8. Reattach the drawer by inserting the slides into the drawer tracks and pressing the release tabs to lock it in place.
IKEA has detailed instructional videos available on their website that demonstrate the full process step-by-step. I'd recommend referring to those for the most up-to-date and product-specific guidance


