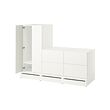
IKEA HAUGA wardrobe with sliding doors instructions
Full Product Name: IKEA HAUGA Wardrobe with sliding doors, white, 46 1/2x21 5/8x78 3/8 "
Article Number: 604.569.16
Number of user manuals: 1
Manuals and Parts List
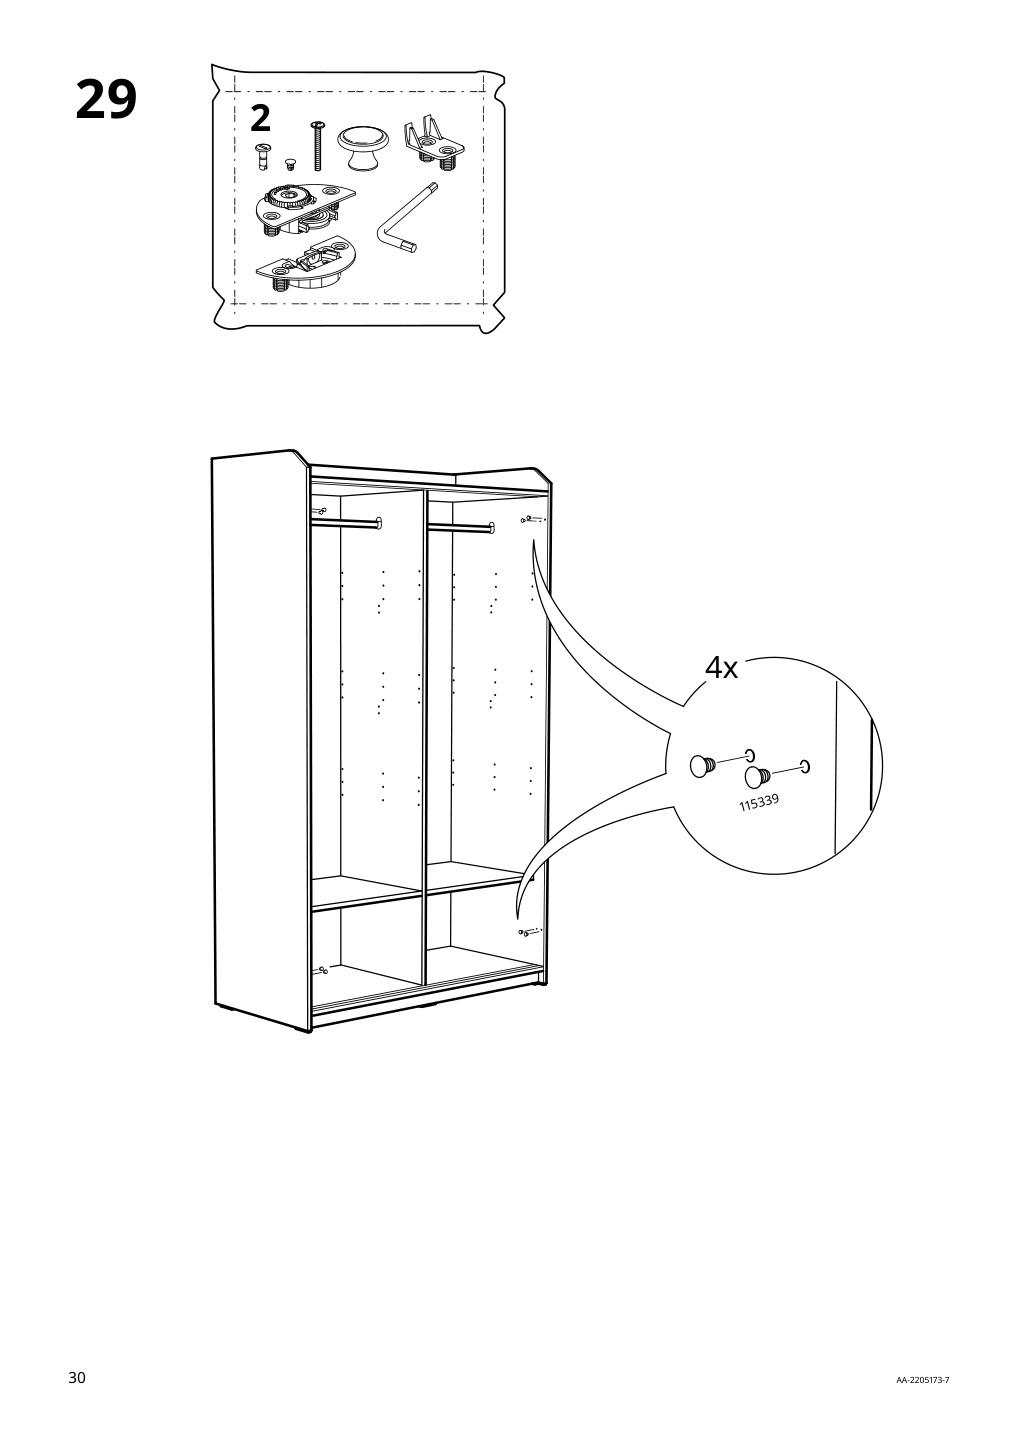
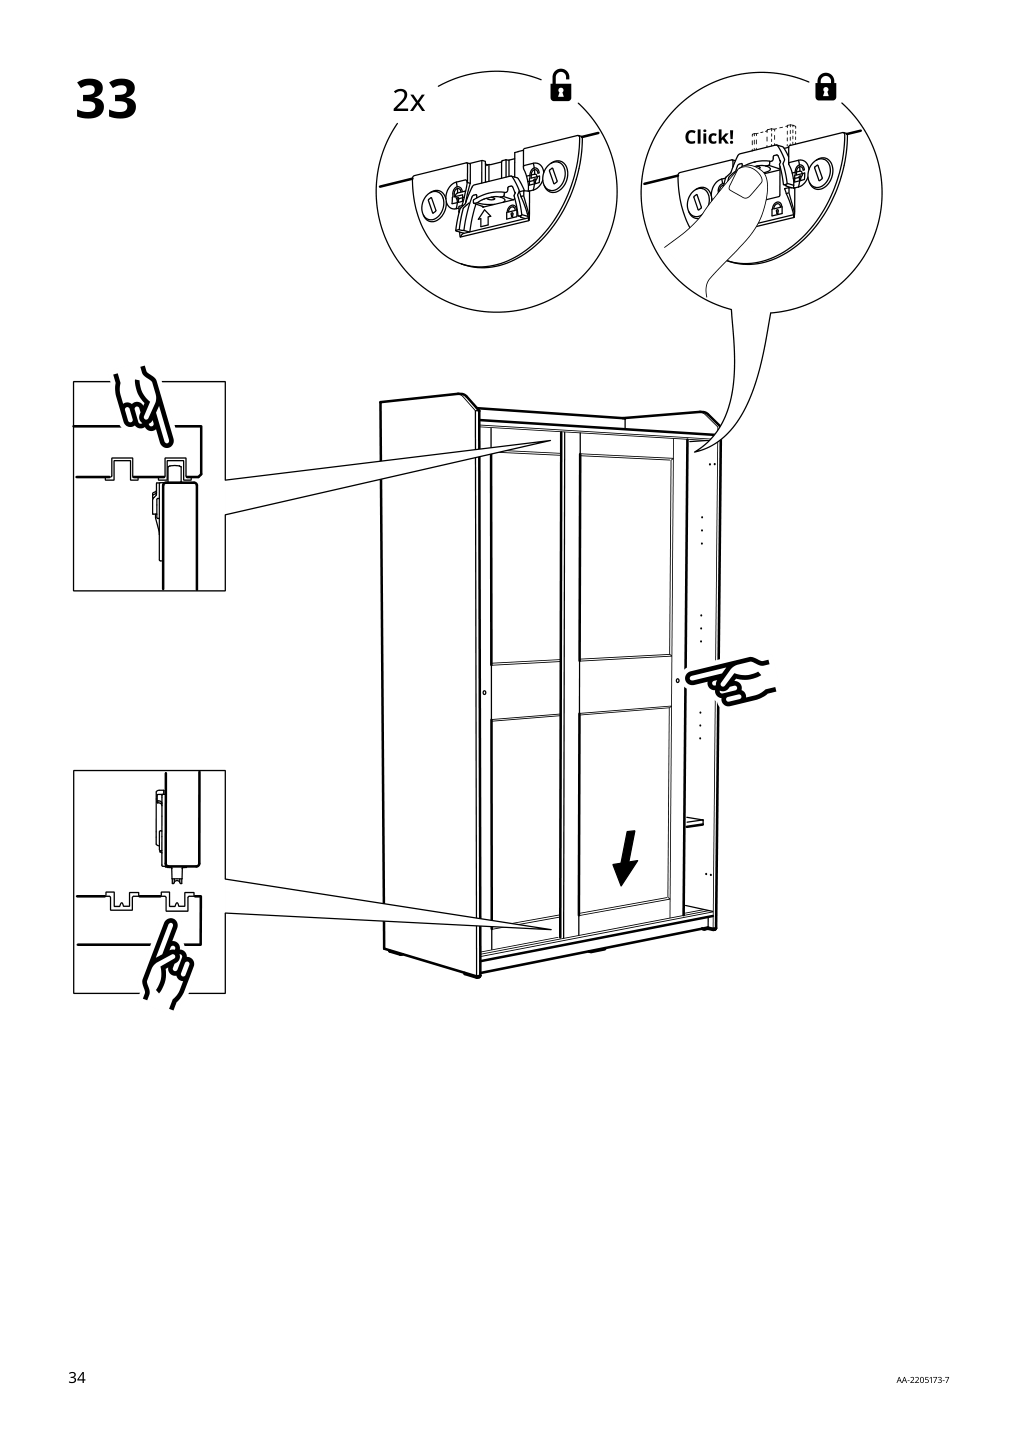
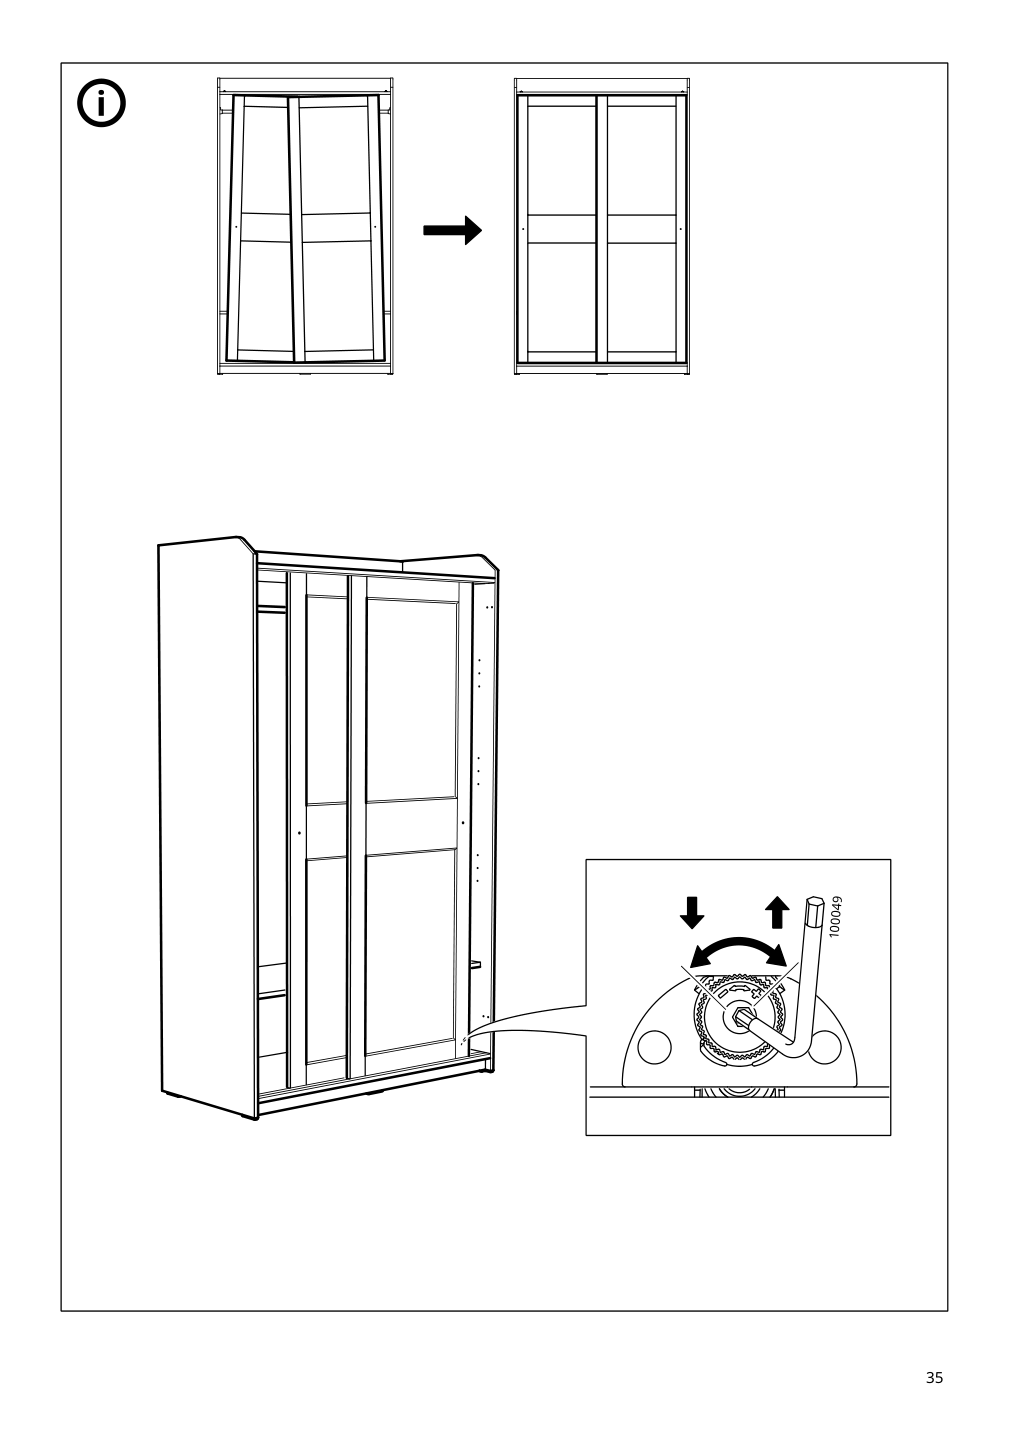
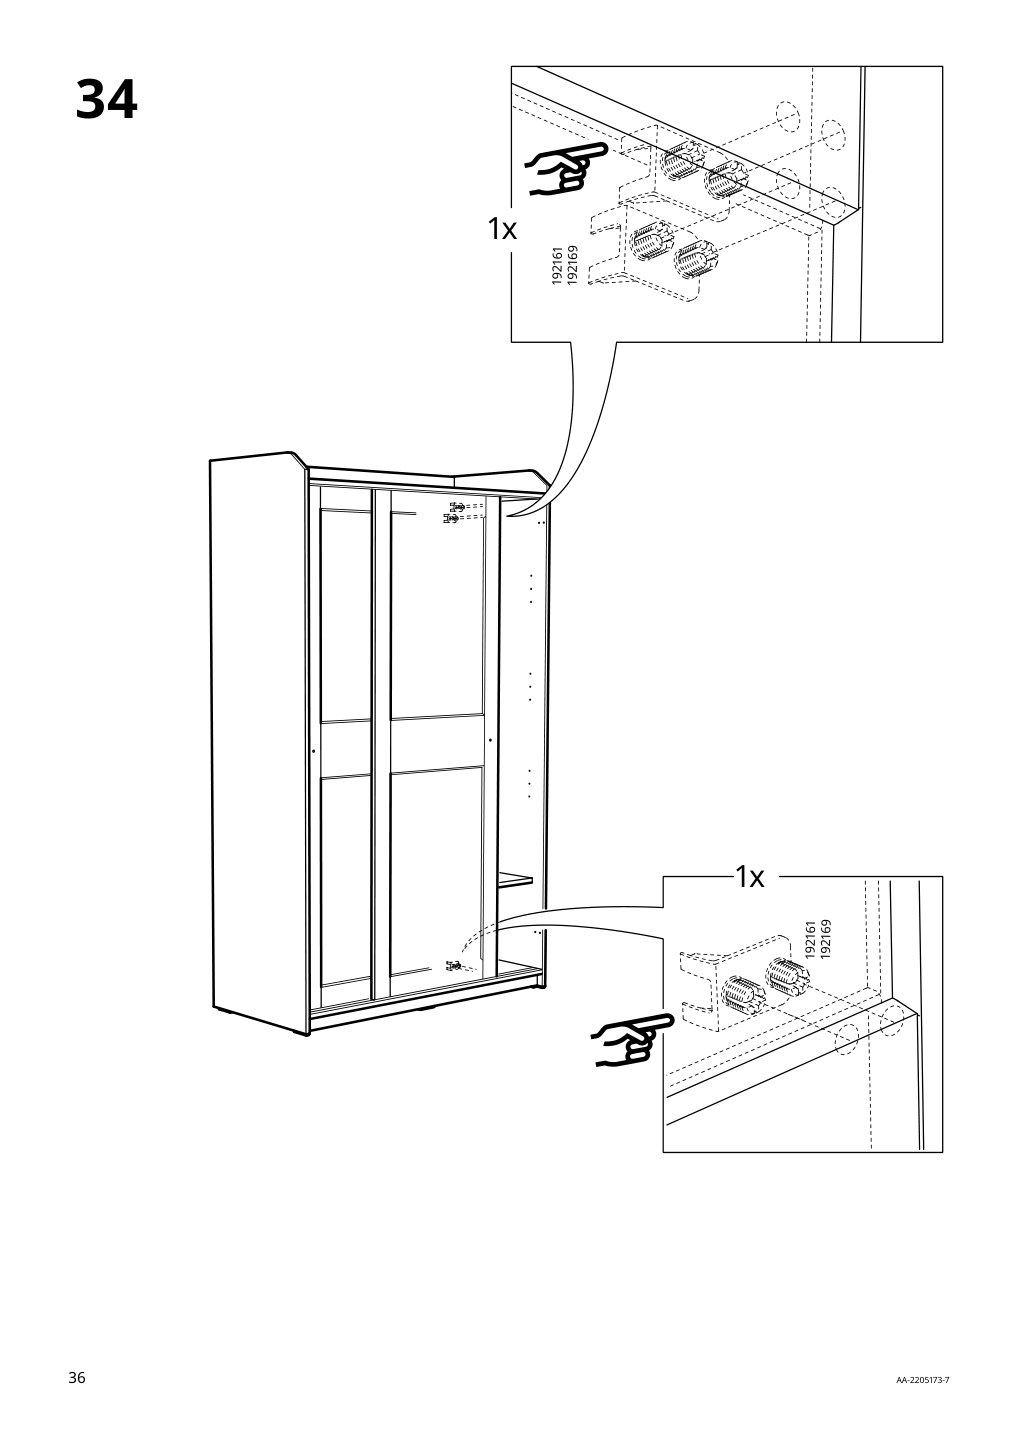
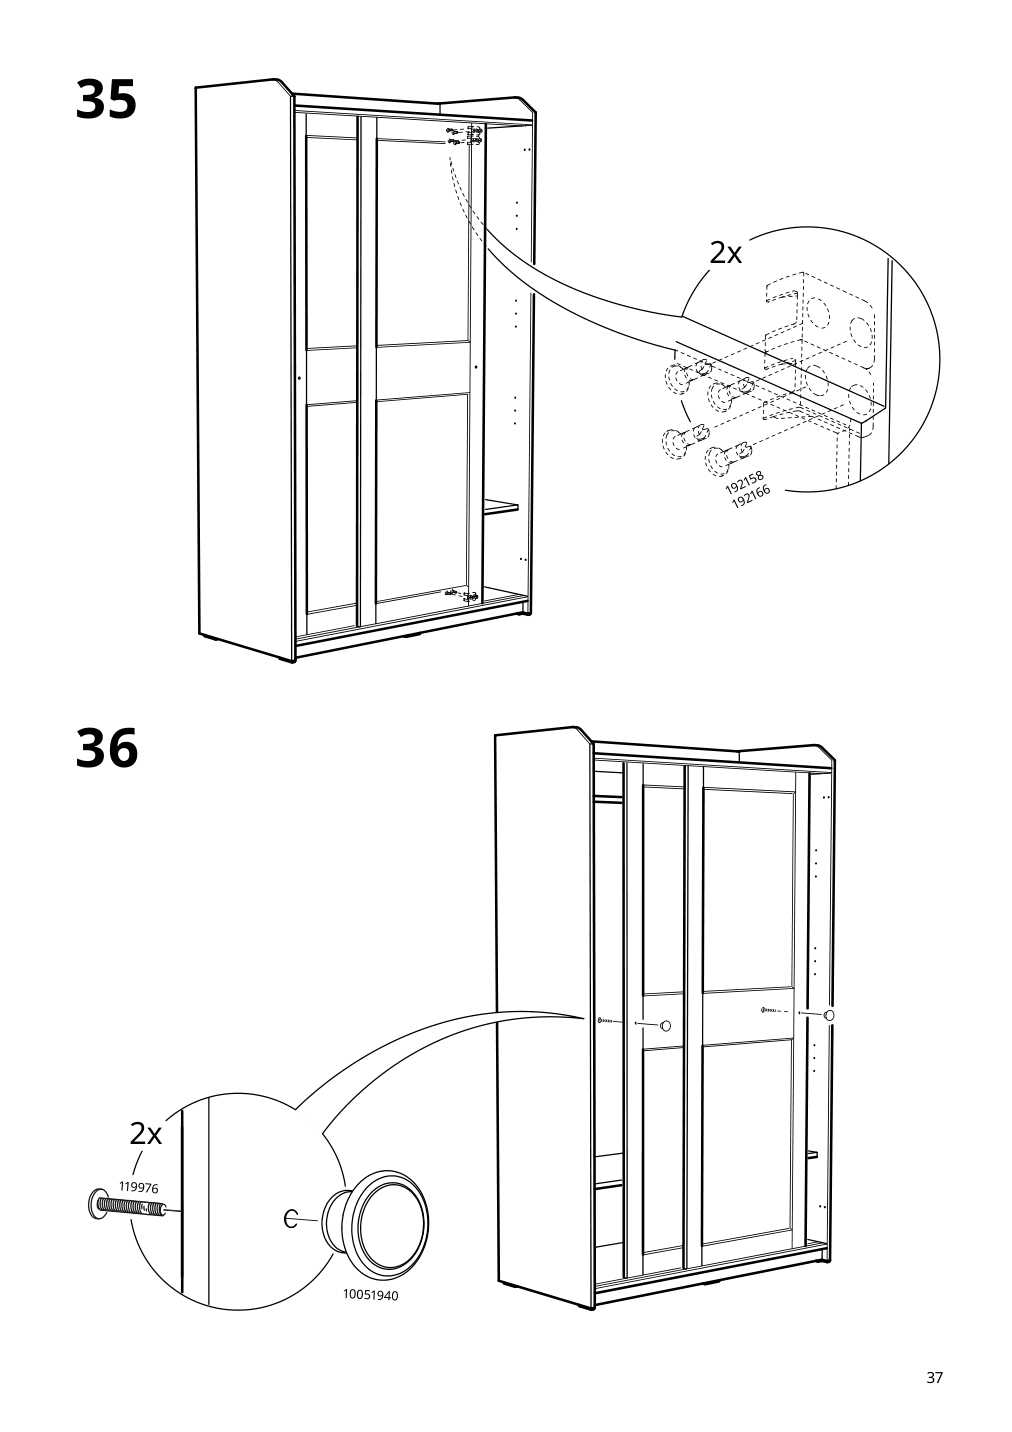
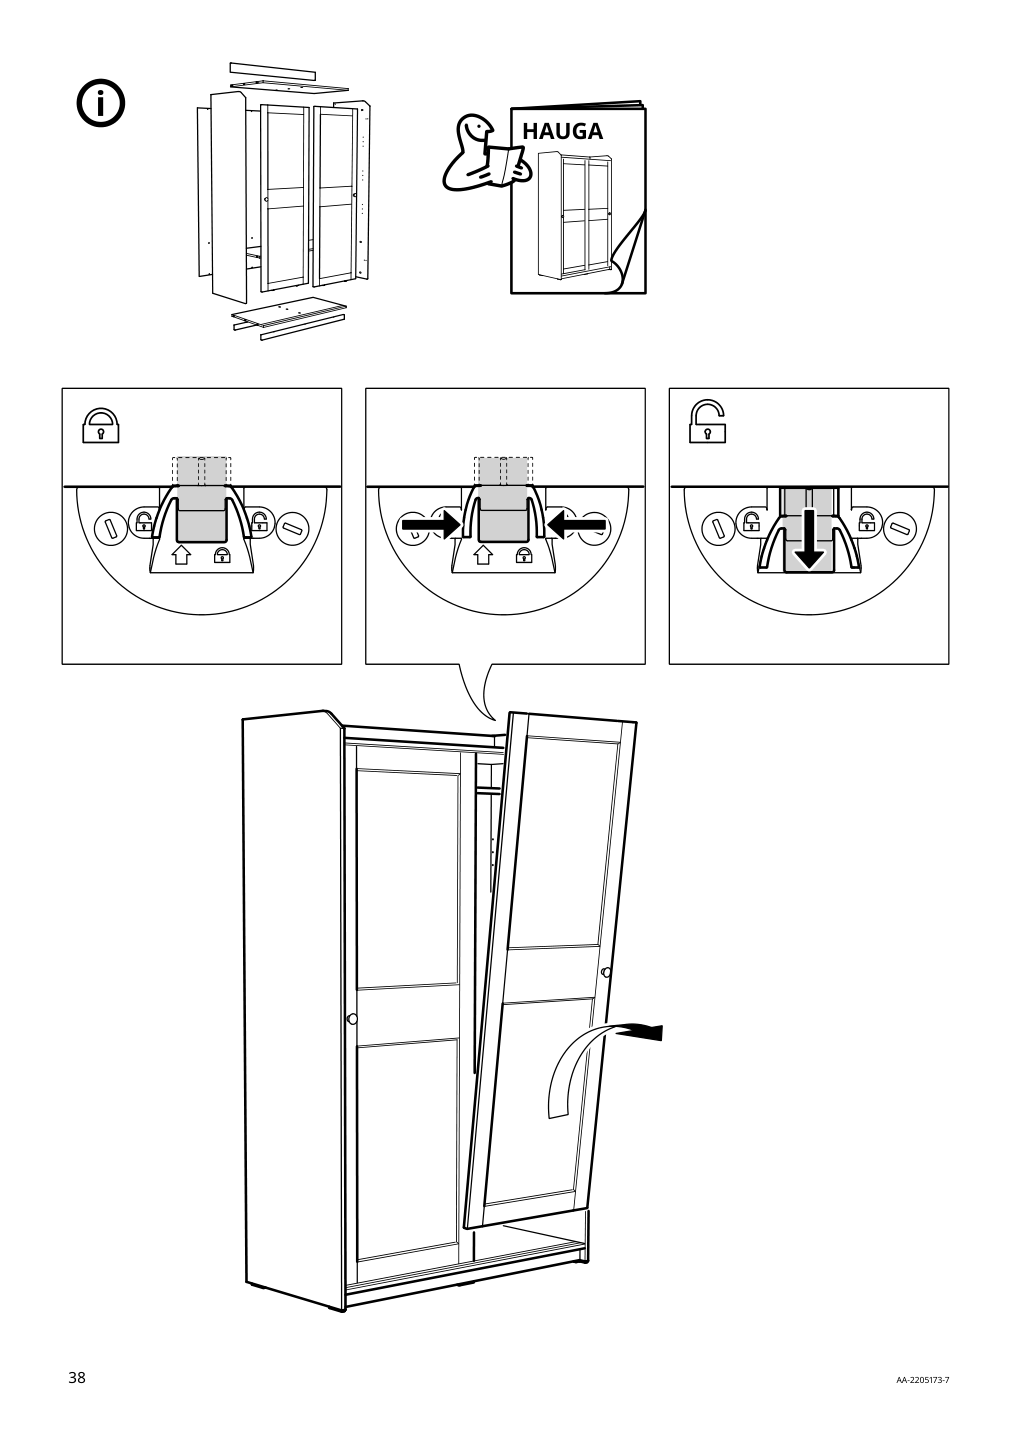
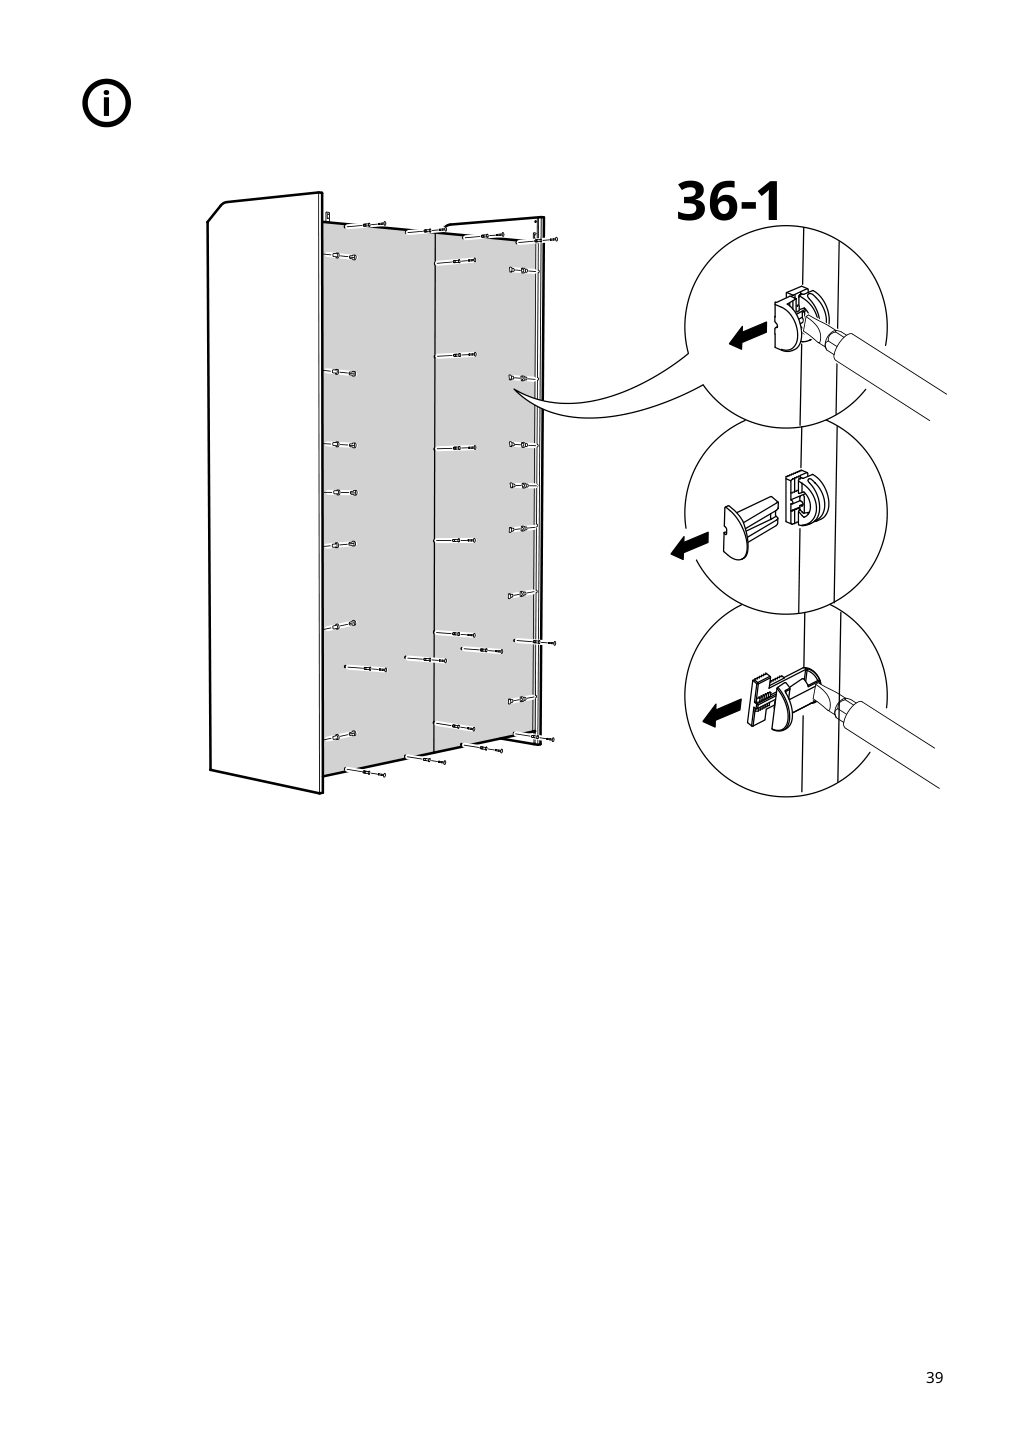
There is one assembly instruction manual to fully build IKEA HAUGA wardrobe with sliding doors.
1. Instructions for IKEA Hauga wardrobe with sliding doors white
IKEA parts list for Hauga wardrobe with sliding doors white:





IKEA HAUGA Product Details
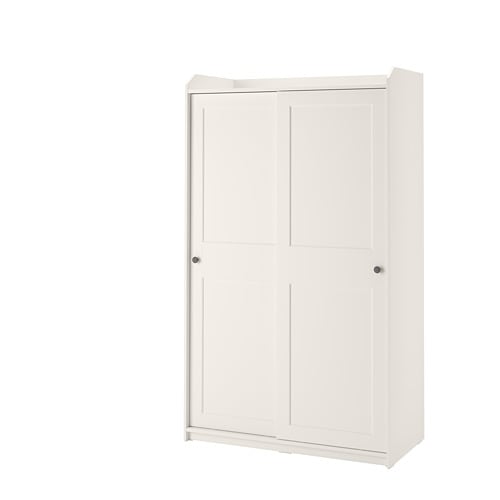
HAUGA Wardrobe with sliding doors, white, 46 1/2x21 5/8x78 3/8 "
Article number: 604.569.16
Of course your home should be a safe place for the entire family. That’s why a safety fitting is included so that you can attach the storage unit to the wall.
Designed to be used both on its own throughout the home and is also a perfect fit with other furniture in the HAUGA series, either to coordinate the style or create bigger storage solutions.
Maximize your storage and create a coordinated look by building your own HAUGA storage combination.
A versatile piece of furniture that you can use in many different rooms in the home.
Thanks to the distinctive look and smart design, furniture in the HAUGA series works well on their own and even better together. The flat, smooth sides create seamless units when pieces are placed next to each other.
Perfect for folded as well as long and short hanging clothes.
Sliding doors allow more room for furniture because they don’t take any space to open.
You get a handy place to hang your bags, bathrobe and accessories on on the side of the wardrobe by adding SKOGSVIKEN hooks for door.
The characteristic top shelf is a common feature in the entire HAUGA series and adds to the traditional style. Regardless if you use it for hats, boxes, or decorations, the edge keeps your things in place.
The frame is easy to assemble thanks to the construction with a wedge dowel that easily clicks into the pre-drilled holes.
Use throughout the home, on its own or with other furniture in the HAUGA series. Sliding doors give you the space you need. Do you fold or hang? No need to choose, this wardrobe offers both possibilities.
Measurements:
Width: 46 1/2 " (118.0 cm)Depth: 21 5/8 " (55.0 cm)
Height: 78 3/8 " (199.0 cm)
Need help?
Have a question about IKEA HAUGA or Need to request a missing manual?
Questions and Answers
Number of questions: 2
Chelsea
Posted on Aug 25, 2023I'm having trouble assembling the Hauga wardrobe. The wedge dowel is not clicking into the pre-drilled holes as expected. What could be the issue and how can I troubleshoot it?
Kenzo @ EasyRebuild
Answered on Aug 27, 2023The issue with the wedge dowel not clicking into the pre-drilled holes could be due to a few reasons:
1. Ensure the holes are aligned properly. Double-check that the pre-drilled holes on the frame pieces match up correctly before attempting to insert the dowels.
2. Check the dowels for any damage. Inspect the wedge dowels to make sure they are not bent or deformed, as this can prevent them from fitting properly into the holes.
3. Apply a small amount of wood glue. Try putting a tiny dab of wood glue into the pre-drilled holes before inserting the dowels. This can help the dowels grip better and click into place.
4. Use a rubber mallet. Gently tap the dowels into the holes using a rubber mallet. This can help seat them securely if they are not clicking in easily by hand.
If you continue to have issues, double-check that all the frame pieces are oriented correctly as per the assembly instructions. With a little patience and the right troubleshooting steps, you should be able to get the wedge dowels to click into place properly
Jessica Carey
Posted on Sep 06, 2022I'm having trouble with the assembly of my Hauga wardrobe. I've managed to attach one side of the frame, but the other side doesn't seem to be fitting properly. Are there any specific instructions or tips you can provide for ensuring a secure and correct assembly?
Alice @ EasyRebuild
Answered on Sep 08, 2022To ensure a secure and correct assembly of the HAUGA Wardrobe, here are some tips:
Carefully review the assembly instructions and diagrams. Pay close attention to the order of steps and make sure all the necessary hardware is accounted for.
Double-check that the pre-drilled holes on both sides of the frame are properly aligned before attempting to click the wedge dowels into place. If the holes don't seem to line up, gently tap the frame pieces to adjust their positioning.
Apply firm, even pressure when pressing the wedge dowels into the holes. Make sure each one clicks firmly into place. You may need to use a rubber mallet to fully seat the dowels.
Ensure the frame is level and square as you assemble it. This will help the sides fit together properly. Use a spirit level to check.
If you're still having trouble, double-check that you haven't missed any hardware pieces or steps in the instructions. Reach out to IKEA customer service if you need further assistance
