IKEA HAUGA 2-drawer chest instructions
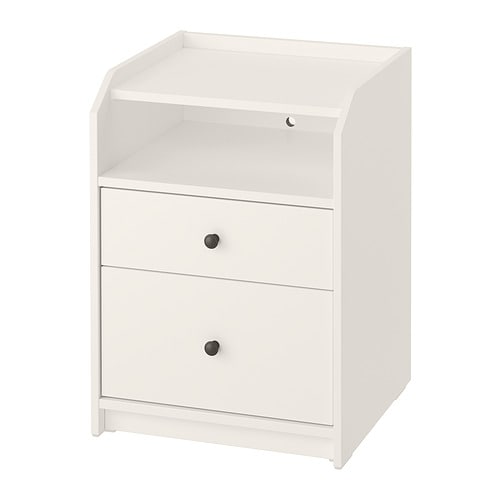
Full Product Name: IKEA HAUGA 2-drawer chest, white, 19 5/8x18 1/8x26 3/4 "
Article Number: 105.728.24
Number of user manuals: 1
Manuals and Parts List
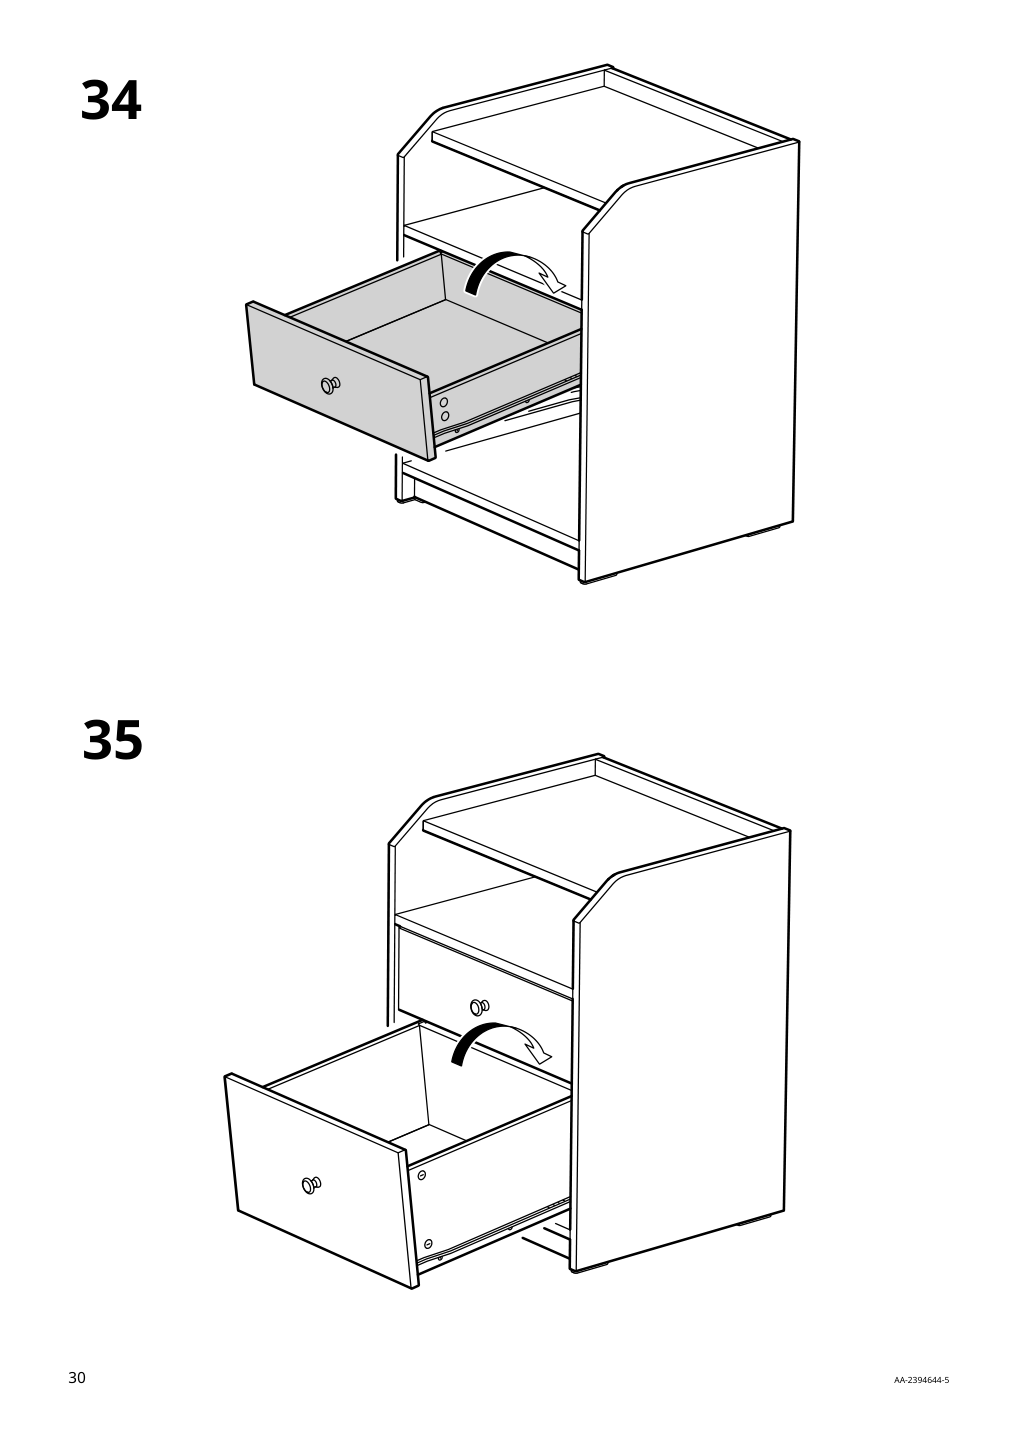
There is one assembly instruction manual to fully build IKEA HAUGA 2-drawer chest.
1. Instructions for IKEA Hauga 2 drawer chest white


IKEA HAUGA Product Details

HAUGA 2-drawer chest, white, 19 5/8x18 1/8x26 3/4 "
Article number: 105.728.24
HAUGA bedside table is designed to match the other products in the series. Combine this table with the bed, cabinet, chest of drawers and wardrobe to create a harmonious bedroom setting.
Use smaller boxes to organize the inside of your drawers and make sure even the smallest of items are easy to find. We offer boxes in a wide selection of styles and sizes.
Comes with a practical cable outlet, just run the cable through the hole in the back.
Use on its own or match with other furniture in the HAUGA series. This bedside table has room for items you want and need close at hand when sleeping – with drawers and a display shelf for decorations.
Measurements:
Depth: 18 1/8 " (46 cm)Drawer depth (inside): 15 " (38 cm)
Height: 26 3/4 " (68 cm)
Width: 19 5/8 " (50 cm)
Drawer width (inside): 16 1/2 " (42 cm)
Need help?
Have a question about IKEA HAUGA or Need to request a missing manual?
Questions and Answers
Number of questions: 1
Robert
Posted on Aug 27, 2022I've just moved into a new apartment and I'm trying to set up my bedroom with the Hauga series. How do you attach the cable outlet in the back of the bedside table to the wall to prevent it from falling or getting knocked over?
Kenzo @ EasyRebuild
Answered on Aug 29, 2022To attach the cable outlet in the back of the HAUGA bedside table to the wall and prevent it from falling or getting knocked over, you can follow these steps:
1. Locate the pre-drilled hole in the back of the bedside table where the cable outlet is positioned.
2. Use the included wall anchor and screw to securely attach the cable outlet to the wall through the pre-drilled hole.
3. Make sure the anchor and screw are tightened properly to provide a sturdy connection between the table and the wall.
4. Route the power cable through the cable outlet and ensure it has enough slack to reach the power source without straining the connection.
5. Once the cable outlet is anchored to the wall, the bedside table should be stable and less prone to tipping or getting knocked over


