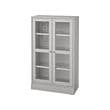
IKEA BLÅLIDEN / STRIMSÄV glass-door cabinet with lighting instructions
Full Product Name: IKEA BLÅLIDEN / STRIMSÄV Glass-door cabinet with lighting, black
Article Number: 895.229.25
Number of user manuals: 2
Manuals and Parts List
There are 2 assembly instruction manuals to fully build IKEA BLÅLIDEN / STRIMSÄV glass-door cabinet with lighting. Scroll down to view all.
1. Instructions for IKEA Blaliden glass door cabinet black


2. Instructions for IKEA Strimsaev led spotlight black
IKEA parts list for Strimsaev led spotlight black:
No hardware or fittings found for Strimsaev led spotlight black.





IKEA BLÅLIDEN / STRIMSÄV Product Details
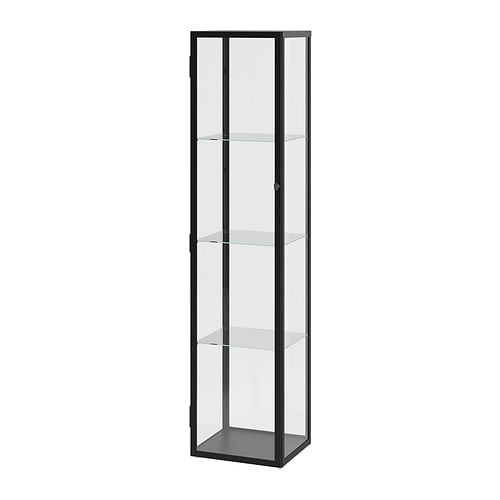
BLÅLIDEN / STRIMSÄV Glass-door cabinet with lighting, black
Article number: 895.229.25
With a glass-door cabinet, you can show off as well as protect your glassware or your favorite collection.
The LED light source consumes up to 85% less energy and lasts 20 times longer than incandescent bulbs.
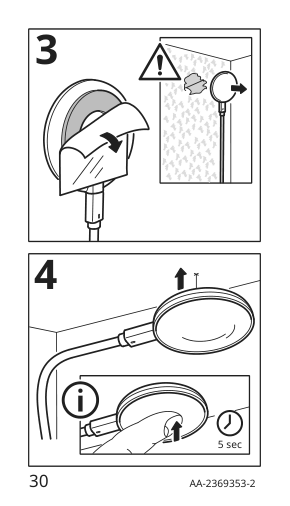
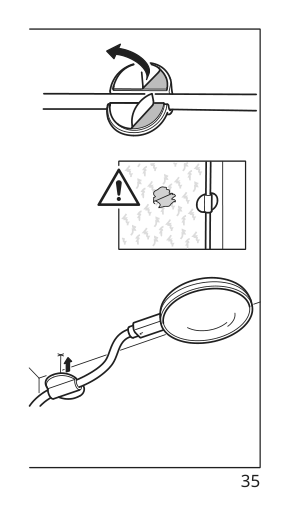
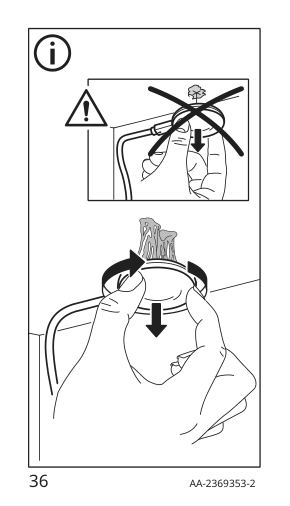
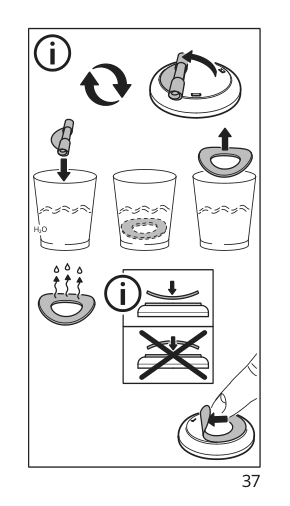
The sticky gel-pad is easy to roll-off by hand, wash with water and reattach to the lamp.
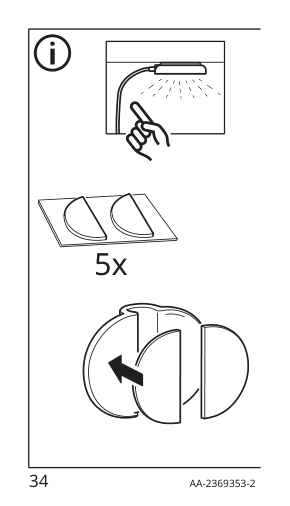
You turn the light on and off by simply pressing the lamp.
Show off the things you love the most! This classic glass-door cabinet with matching spotlight is the perfect combination. The spotlight is also easy to mount with the included gel pad.
Need help?
Have a question about IKEA BLÅLIDEN / STRIMSÄV or Need to request a missing manual?
Questions and Answers
Number of questions: 2
Michele Jacobson
Posted on Dec 11, 2023I'm having trouble installing the LED light in my Blåliden glass-door cabinet. The instructions are not clear on how to attach it to the ceiling of the cabinet. Can you provide me with a more detailed guide or perhaps a video tutorial that shows how to do this correctly?
Michele
Kenzo @ EasyRebuild
Answered on Dec 13, 2023To install the LED light in your BLÅLIDEN glass-door cabinet:
1. Locate the pre-drilled hole in the top interior of the cabinet where the light will be mounted.
2. Remove the adhesive backing from the gel pad attached to the light fixture.
3. Firmly press the gel pad onto the ceiling of the cabinet, aligning it with the pre-drilled hole.
4. Once the gel pad is securely in place, you can simply press the light fixture to turn it on and off. No further wiring or installation is required.
If you're still having trouble, I'd recommend checking for any additional instructional videos or guides on the IKEA website that may provide more detailed steps. Let me know if you have any other questions
Juan
Posted on Nov 25, 2023I just got my Blåliden/Strimsäv glass-door cabinet and I'm having trouble getting the sticky gel-pad to stick properly on the back of the lamp. Is there a trick to making it adhere better?
Kenzo @ EasyRebuild
Answered on Nov 27, 2023To make the sticky gel-pad adhere better to the back of the lamp, try the following:
1. Ensure the surface is clean and dry before applying the gel-pad. Wipe it down with a damp cloth to remove any dust or debris.
2. Peel off the protective film from the gel-pad to expose the adhesive side.
3. Firmly press the gel-pad onto the back of the lamp, applying even pressure across the entire surface. Hold it in place for 30 seconds to allow the adhesive to bond.
4. If the pad still doesn't seem to be sticking well, you can try slightly warming the adhesive side with your fingers before applying it. The warmth can help activate the adhesive.
5. Make sure the lamp is mounted in the desired position before securing the gel-pad, as it may be difficult to reposition once attached.
Following these steps should help the gel-pad adhere securely to the back of the Blåliden/Strimsäv lamp. Let me know if you have any other questions
