IKEA HJÄLPA adjustable clothes rail instructions
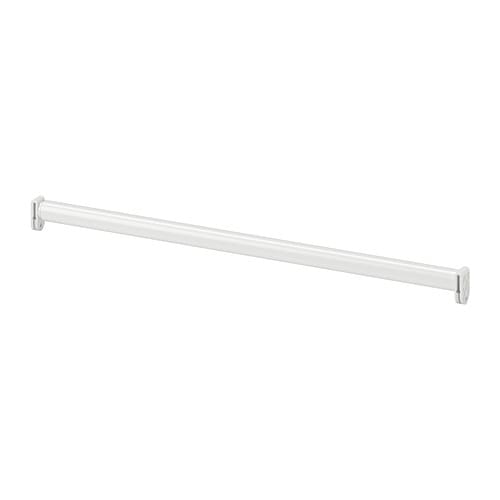
Full Product Name: IKEA HJÄLPA Adjustable clothes rail, white, 23 5/8-39 3/8 "
Article Number: 404.978.28
Number of user manuals: 1
Manuals and Parts List
There is one assembly instruction manual to fully build IKEA HJÄLPA adjustable clothes rail.
1. Instructions for IKEA Hjaelpa adjustable clothes rail white
IKEA parts list for Hjaelpa adjustable clothes rail white:


IKEA HJÄLPA Product Details

HJÄLPA Adjustable clothes rail, white, 23 5/8-39 3/8 "
Article number: 404.978.28
The adjustable clothes rail makes it easy to customize the solution to your needs.
Don't forget your hangers! We have all types and style options covered whether you are hanging your finest dress or your heaviest winter parka.
Easy to attach to HJÄLPA suspension rail.
HJÄLPA interior organizers include rails, baskets, hooks, and shelves, which make the most of the available space and keep things organized.
Measurements:
Max. width: 39 3/8 " (100.0 cm)Min. width: 23 5/8 " (60.0 cm)
Need help?
Have a question about IKEA HJÄLPA or Need to request a missing manual?
Questions and Answers
Number of questions: 3
Campbell Kristina
Posted on Jan 26, 2024I'm trying to install the HJÄLPA adjustable clothes rail, but I'm having trouble attaching it to the suspension rail. Can you provide instructions or tips on how to secure it properly?
C. Kristina
Eric
Posted on May 28, 2023I have a HJÄLPA suspension rail installed in my closet, but I'm having trouble attaching the adjustable clothes rail to it. Can you provide instructions or guidance on how to properly attach the two pieces?
Eric
Kenzo @ EasyRebuild
Answered on May 30, 2023To properly attach the HJÄLPA adjustable clothes rail to the HJÄLPA suspension rail, follow these steps:
1. Locate the mounting brackets on the back of the adjustable clothes rail. These brackets are designed to clip onto the suspension rail.
2. Position the adjustable clothes rail at the desired height along the suspension rail.
3. Gently push the mounting brackets on the back of the clothes rail into the slots on the suspension rail until they click into place securely.
4. Adjust the width of the clothes rail by sliding the two halves inward or outward as needed, ensuring it is level.
5. Once the width is set, tighten the locking screws on the mounting brackets to fix the clothes rail in place.
6. Test the stability of the attached clothes rail by gently tugging on it to ensure it is firmly secured to the suspension rail.
Let me know if you have any other questions
Rice Ronald
Posted on Aug 29, 2022I want to install the HJÄLPA adjustable clothes rail on a wall, but I'm not sure how to attach it to the suspension rail. Can you provide instructions or recommend any additional hardware that I might need?
Kenzo @ EasyRebuild
Answered on Aug 31, 2022To install the HJÄLPA adjustable clothes rail onto the suspension rail, you'll need to follow these steps:
1. Attach the suspension rail securely to the wall using the provided wall anchors and screws.
2. Slide the adjustable clothes rail onto the suspension rail. The clothes rail should easily click into place.
3. Adjust the width of the clothes rail as needed by sliding it along the suspension rail.
4. Once the desired width is reached, tighten the screws on the clothes rail to lock it in place.
No additional hardware is required beyond what is included with the HJÄLPA suspension rail and clothes rail. The system is designed for easy, tool-free installation directly onto the suspension rail


